cat7 外装ケーブル
ネットワークに Cat7 外装ケーブルを使用する利点
ネットワークに関しては、Cat7 外装ケーブルが最適です。このタイプのケーブルには、あらゆるネットワークにとって理想的な選択肢となる多くの利点があります。ネットワークに Cat7 外装ケーブルを使用する利点のほんの一部を次に示します。
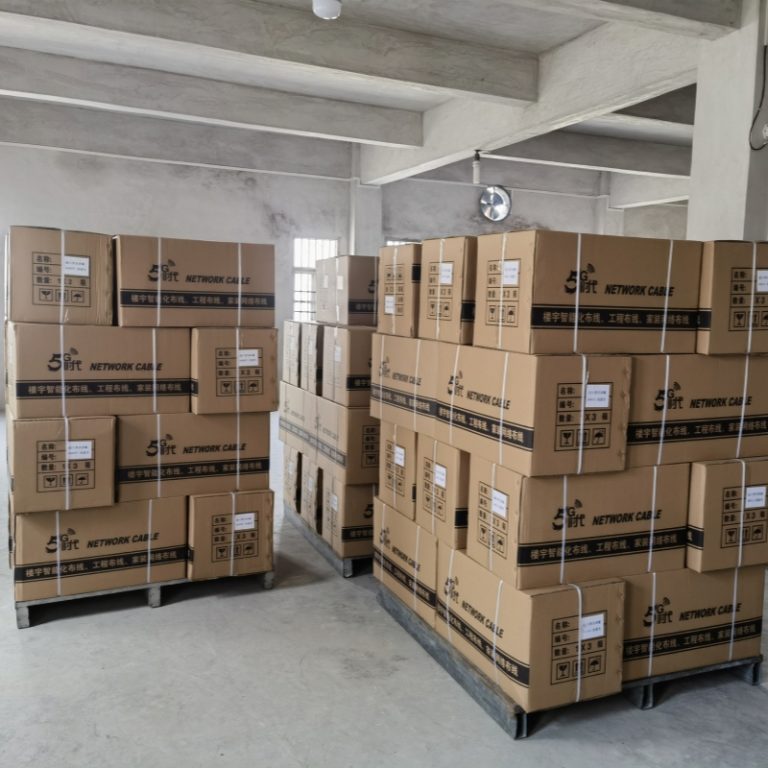
1.耐久性: Cat7 外装ケーブルは、非常に耐久性が高いように設計されています。ケーブルを損傷から保護するように設計された厚い外側シースで作られています。そのため、人の往来が多い場所や、ケーブルが風雨にさらされる可能性がある場所での使用に最適です。
製品名 | 分類 |
ネットワークケーブル | フルークテスト合格 |
フルークテストに合格していない場合 |

4.コスト: Cat7 外装ケーブルは、他のタイプのケーブルに比べて比較的安価です。このため、高品質のケーブルを購入しながらコストを節約したいと考えている人にとっては、優れた選択肢となります。
全体として、Cat7 外装ケーブルは、あらゆるネットワークにとって優れた選択肢です。耐久性、高速性、信頼性、コスト効率に優れており、あらゆる用途に最適です。
最大限のパフォーマンスと信頼性を得るために Cat7 外装ケーブルを取り付ける方法
Cat7 外装ケーブルを取り付けることは、ネットワークの最大のパフォーマンスと信頼性を確保するための優れた方法です。高度なシールドと堅牢な構造を備えた Cat7 外装ケーブルは、あらゆるネットワーク設置に最適です。ここでは、Cat7 外装ケーブルの設置を最大限に活用するためのヒントをいくつか紹介します。
まず、作業に適したツールがあることを確認してください。ケーブル ストリッパー、圧着工具、ペンチが必要です。ケーブルに必要な穴を開けるには、ドリルといくつかのドリル ビットも必要です。
次に、必要なケーブルの長さを測り、適切なサイズに切ります。コネクタ用にケーブルの両端に数インチ余分に残してください。
ケーブルを適切なサイズに切断したら、外側のジャケットを剥がします。ケーブル ストリッパーを使用して、内側のワイヤーを傷つけないように注意しながら、外側のジャケットを慎重に取り外します。
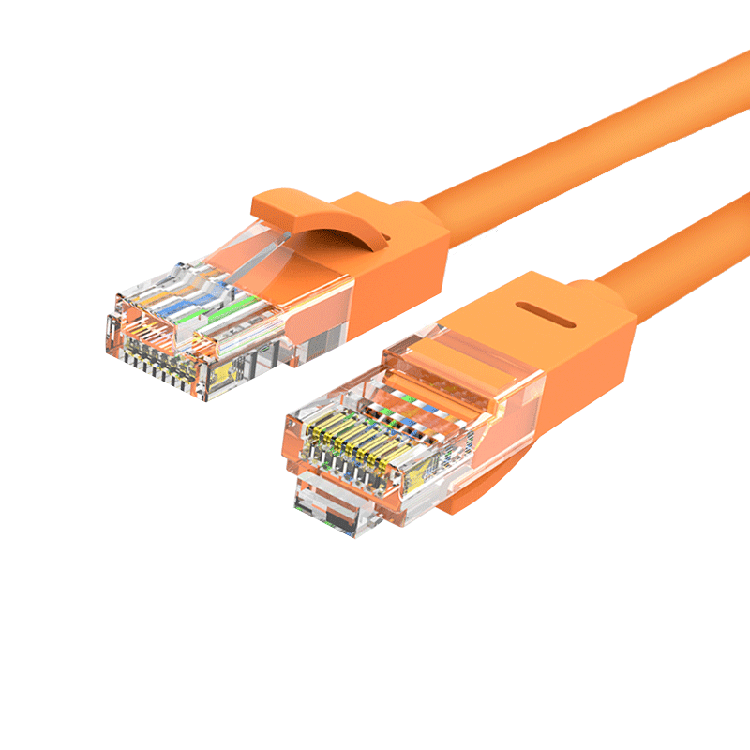
次に、コネクタを取り付けます。圧着工具を使用してコネクタをケーブルの端に取り付けます。コネクタがしっかりと接続され、ワイヤが適切に配置されていることを確認してください。
最後に、ケーブルを取り付けます。必要な穴を開け、そこにケーブルを通します。ケーブルが自由に動かせるように、ケーブルに十分なたるみを残してください。
ケーブルを取り付けたら、テストして適切に動作することを確認できます。すべてが良好であれば、Cat7 外装ケーブルの設置の利点を享受する準備ができています。高度なシールドと堅牢な構造により、ネットワークの信頼性が高まり、最高のパフォーマンスが発揮されることを確信できます。
Installing Cat7 armoured cable is a great way to ensure maximum performance and reliability for your network. With its advanced shielding and robust construction, Cat7 armoured cable is the perfect choice for any network installation. Here are some tips to help you get the most out of your Cat7 armoured cable installation.
First, make sure you have the right tools for the job. You’ll need a cable stripper, a crimping tool, and a pair of pliers. You’ll also need a drill and a few drill bits to make the necessary holes for the cable.
Next, measure the length of the cable you need and cut it to size. Make sure to leave a few extra inches of cable on each end for the connectors.
Once you’ve cut the cable to size, it’s time to strip the outer jacket. Use the cable stripper to carefully remove the outer jacket, being careful not to damage the inner wires.
Now it’s time to attach the connectors. Use the crimping tool to attach the connectors to the ends of the cable. Make sure the connectors are firmly attached and that the wires are properly aligned.
Finally, it’s time to install the cable. Drill the necessary holes and thread the cable through them. Make sure to leave enough slack in the cable so that it can move freely.
Once the cable is installed, you can test it to make sure it’s working properly. If everything looks good, you’re ready to enjoy the benefits of your Cat7 armoured cable installation. With its advanced shielding and robust construction, you can be sure that your network will be reliable and perform at its best.
-768x768.jpg)